I just recently returned from a trip “up north”. The colors were amazing and the air was crisp and cool! It seemed that about every mile, we passed a produce stand. It was glorious. One stand had an old fashioned scale with weights and balances, like the kind you could find in doctor’s offices. It was upon this scale that you set your selected pumpkin before purchase. The pumpkins were priced by the pound. A variety of choices were available from tiny to huge! We made our selection and bought a pumpkin. As we carried it back to our vehicle I allowed a little skip in my step as I was
filled with delight! It had been years since we had carved a pumpkin.
I remember as a child sitting at the kitchen table every year with my grandpa. We would decide on our design and he set about carving the pumpkin. Each year’s events ended with a photo session of
our creation. It was a tradition that I looked forward to and remember with joy.
We continued this tradition with our children. I pray they have many warm memories as well. There is nothing like the excitement of lighting the candle in your freshly carved pumpkin and setting his top on. Watching the rays of light stream from the Jack-o-Lantern’s smiling face produces great joy and happiness! (Our pumpkins were always happy!)
Some years we saved the seeds to plant next year and other years we washed, seasoned and roasted the seeds for a special treat.

Here are a few tips/ideas for your annual pumpkin carving festivities:
Adding newspapers under your work surface makes clean-up much easier. Just roll up the
mess and toss. Adults/much older children (teens) should be in charge of the cutting, as pumpkins are very tough to cut. Always use a sharp knife. Dull knives result in more injuries.

An ice cream scoop or large metal spoon works nicely to scoop out the inside of the pumpkin.
Hands work well too, if you don’t mind getting slimy…which by the way, is half the fun!

Instead of a free hand design, we chose to cut a pattern out of a piece of scratch paper until we got the look we wanted. Then using double sided tape we taped the design onto the clean, dry pumpkin.

You can either use a pencil or the tip of your knife to outline your design, then remove the paper pattern; or cut around the paper pattern while it is taped onto the pumpkin.
Carefully remove the pieces after cutting through the pumpkin shell.

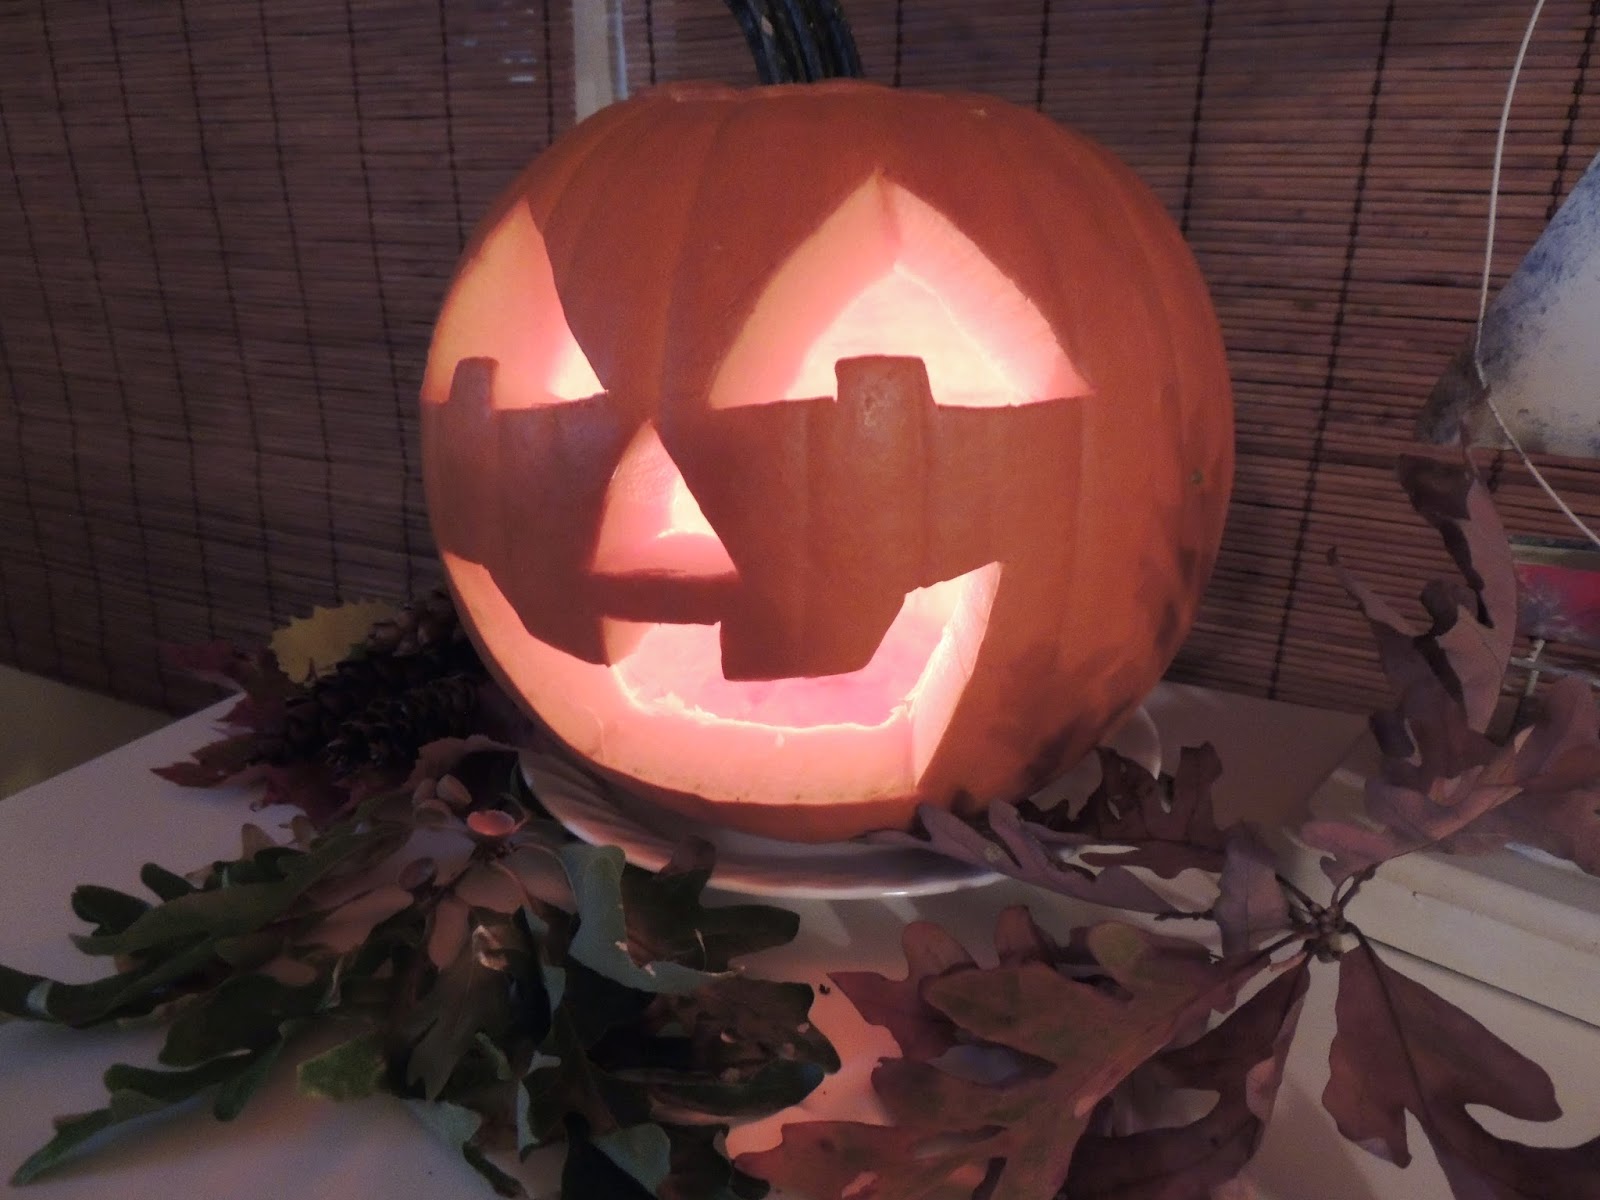
Add a votive or tea light candle inside. It is wonderful to have battery operated tea lights and votive candles to use as they are a safer option. Set your pumpkin on a plate to protect the table surface. A large plastic lid from a container you were going to throw away will work great as well.

No matter if you are 2 or 102 years old
carving a pumpkin in the fall is always a thrill!
Look at that smile!

Alternative options:


A very non-traditional pumpkin can be made out of a tin can. Any size tin can, can be used.
Wash and dry a tin can and make sure there are no sharp edges around the top. Investing in a can-opener that leaves smooth edges is well worth the investment! Paint your can orange. Punch a hole in each side of the can to insert a wire handle. Use black paint or permanent marker to produce your face design. Add a bow, if desired, and your Tin Jack-O-Lantern is ready to go!
Are you really feeling artistic? Use a hammer and nail to punch small holes in your tin can to make a design. Add a battery operated votive or tea light candle inside. The light will shine through your holes.