The fall season officially started on September 23. As the trees become flaming sources of color for your delight, it is fun to bring some of that beauty into your home. Here are a couple of fun projects that can be enjoyed for those ages 2-102.
Take a nature hike and collect pretty leaves along the way. Use a basket or shopping bag to collect your colorful treasures. Once you are back home, sort the leaves into piles of different shapes, sizes and/or colors.
Press your leaf collection in between the pages of an old magazine, or between sheets of newspaper. Be careful to make sure the leaves are lying completely flat before pressing. Weigh down your pressed leaves with something heavy (books, door stop, brick, etc.). Check every few days until the leaves are flat and dry. When completely dry you can have fun making one, or both, of the projects below.
Placemats
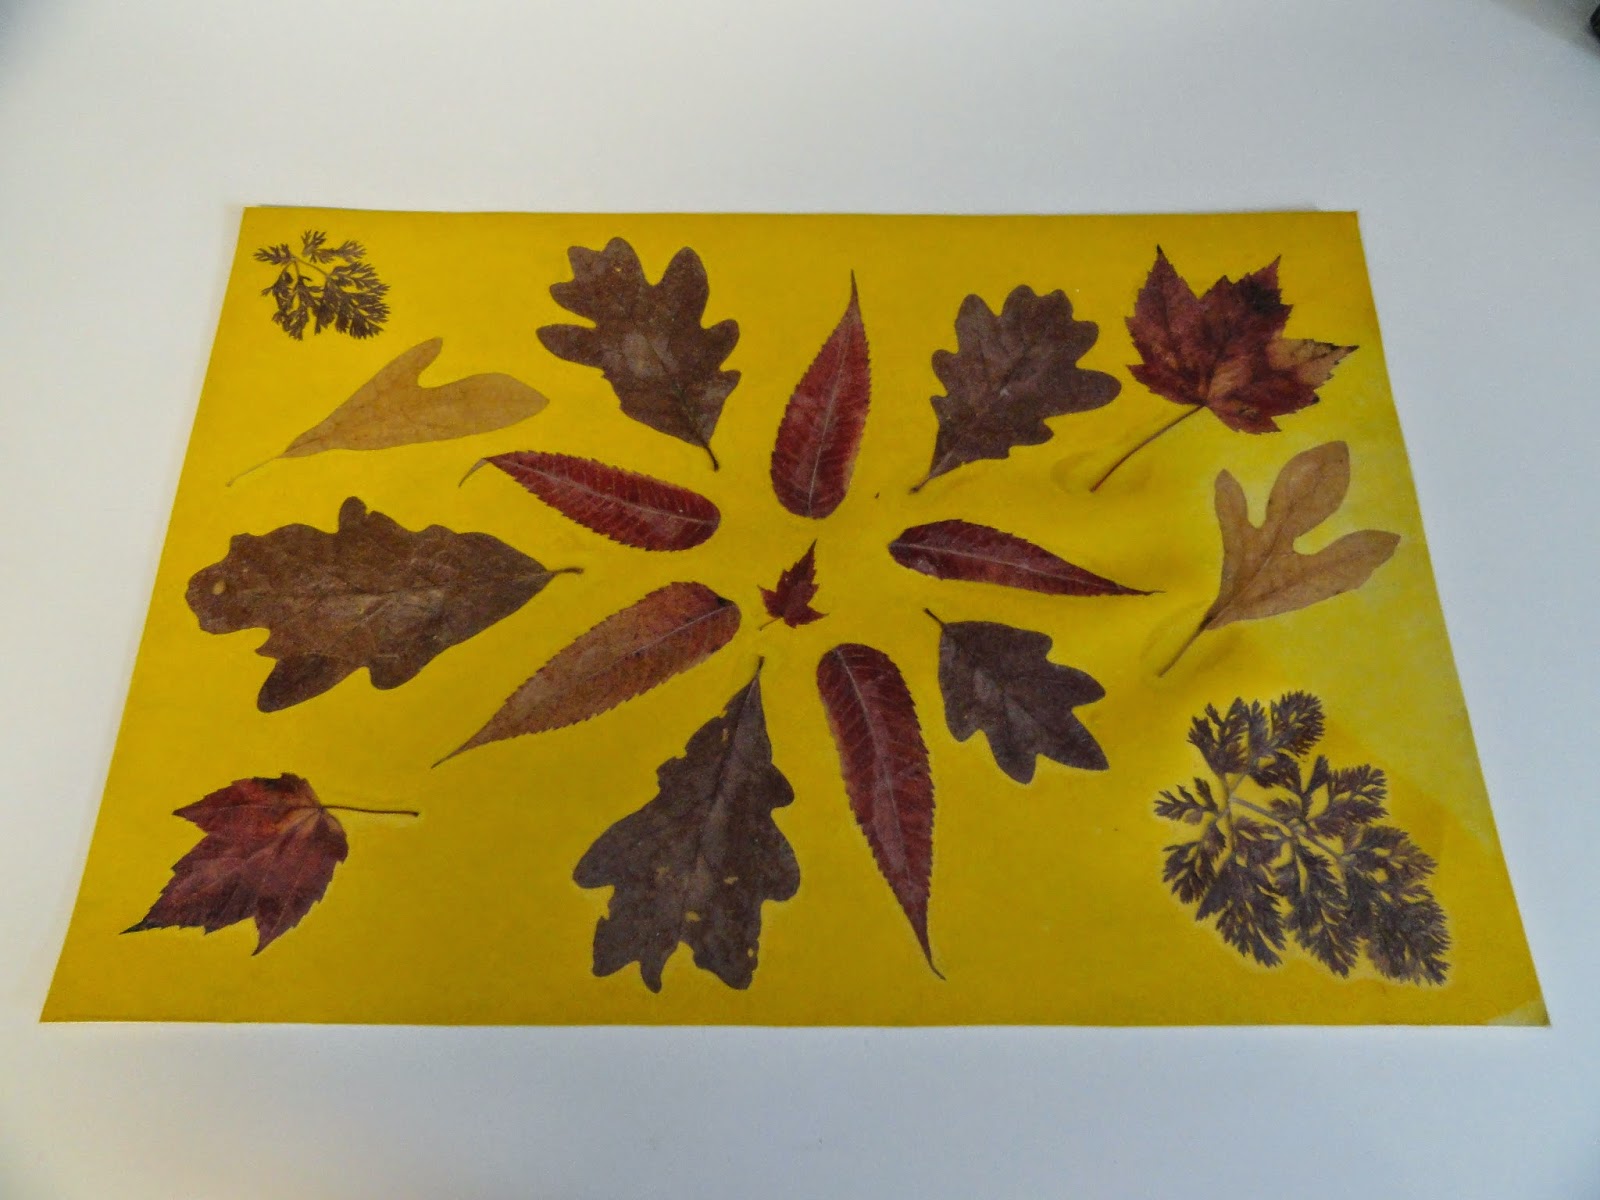
Select a piece of poster board in the color you desire for your background. Use a placemat you already own as a pattern to determine the size. Make a design with leaves on your cut poster board. A piece of double stick tape or a dot of white glue will help hold your leaves in place. Cover the leaf side of your placemat first with clear contact paper. Then cover the back of your placemat. Don’t forget to sign and date the back of your project before sealing with the contact paper.
An alternative idea is to make and send a card to someone special using the same materials.
Not only are these placemats fun to create, they look pretty on the table for autumn meals and are great keepsakes. I still have placemats that my children made 30 years ago! They have retained their color, look festive on the table and bring back a whole lot of fun memories. So, why not make a set of memories with your children this fall?
Window Decorations
Wax paper version: Arrange a few pretty leaves on wax paper. Cover with another sheet of wax paper the same size. Put a brown paper bag, that has been cut apart, under and on top of the waxed paper while ironing with a warm iron to seal. These look pretty hanging in a window.
Clear contact version: Seal dried, flattened leaves in-between two sheets of clear contact paper. Trim around the edges of the leaves using a pair of sharp scissors. Leave about a quarter of an inch around the leaves when trimming the contact paper. Hang individually or string together using monofilament lineor colorful yarn. You can also tie leaves together or hang individually to a wire clothes hanger to make a mobile.
Inspired by the book:
Miraculous, Magical Moments in Minutes
by Becky Baxa